


-
×
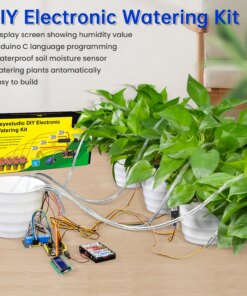 Keyestudio DIY Electronic Watering Kit Sensors Module Kit Smart Automatic Watering Device For Arduino STEM Education(7 Projects)
1 × 65.45$
Keyestudio DIY Electronic Watering Kit Sensors Module Kit Smart Automatic Watering Device For Arduino STEM Education(7 Projects)
1 × 65.45$ -
×
 Personalized Logo Printed Custom Link Jewelry Drawstring Bags Pouches Velvet Jewellery Packaging Sack Wedding Favor Bags
2 × 1.50$
Personalized Logo Printed Custom Link Jewelry Drawstring Bags Pouches Velvet Jewellery Packaging Sack Wedding Favor Bags
2 × 1.50$ -
×
 RFID Starter Kit for Arduino UNO R3 Upgraded Version Learning Suite With Retail Box electronic DIY KIT
1 × 31.07$
RFID Starter Kit for Arduino UNO R3 Upgraded Version Learning Suite With Retail Box electronic DIY KIT
1 × 31.07$ -
×
 KALEN Punk Exaggerate Men's Statement Necklaces Rock 316 Stainless Steel Skull Charm 64CM Long Necklace Cool Biker Pub Accessory
1 × 69.98$
KALEN Punk Exaggerate Men's Statement Necklaces Rock 316 Stainless Steel Skull Charm 64CM Long Necklace Cool Biker Pub Accessory
1 × 69.98$ -
×
 HUD OBD2 Display Car 4x4 Inclinometer off-Road Speedometer Tacho Oil Temp Electronic Accessories For Car Auto Head Up Display
1 × 46.07$
HUD OBD2 Display Car 4x4 Inclinometer off-Road Speedometer Tacho Oil Temp Electronic Accessories For Car Auto Head Up Display
1 × 46.07$ -
×
 Natural Abalone Shell Mother of Pearl laminate Sheet DIY Home Decor Furniture Floor/Fishing Rod/Manicure/Crafts Coated Materials
1 × 25.25$
Natural Abalone Shell Mother of Pearl laminate Sheet DIY Home Decor Furniture Floor/Fishing Rod/Manicure/Crafts Coated Materials
1 × 25.25$
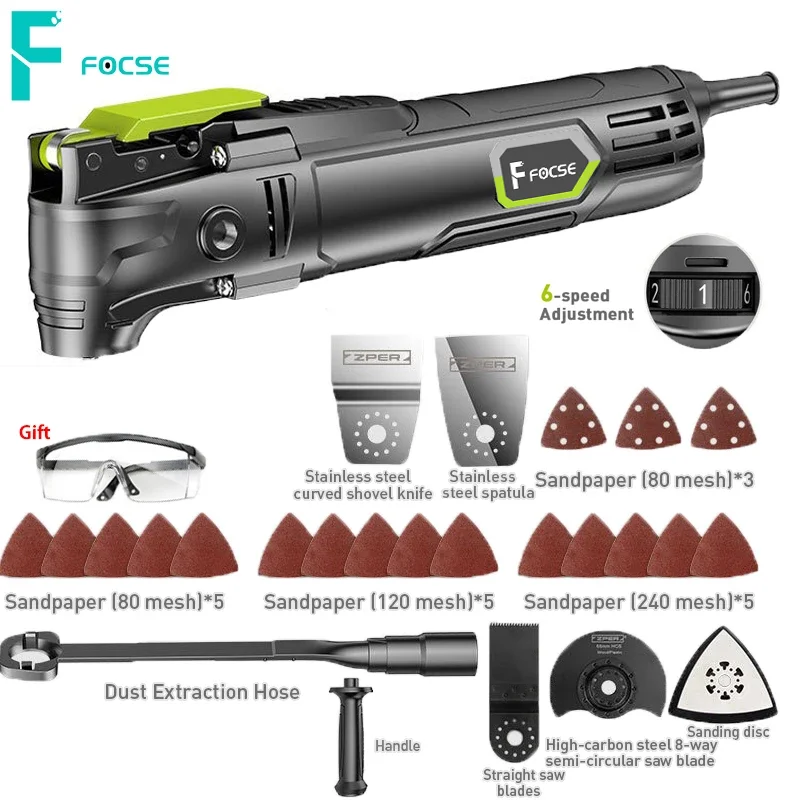


220W/300W/500W Electric Multifunction Po...
Shipping Information: Shipping period can range from 1 week to 90 days, depending on your location and product availability.

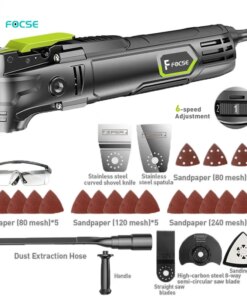
Multifunctional Universal treasure

Sawing / cutting / shoveling / grinding / polishing Multi-purpose

Home Decoration Expert
Sawing / Cutting
Wood cutting Metal cutting
Timber square Nail cutting

Grinding / polishing
Wood polishing Metal polishing
Material grinding Plastic grinding

Shovel / Tumble / Grind
Cement slurry grinding Grout removal
Wall covering removal Ground cover removal

General interface Multinomial compatibility
Universal accessory interface design, compatible with a variety of accessories

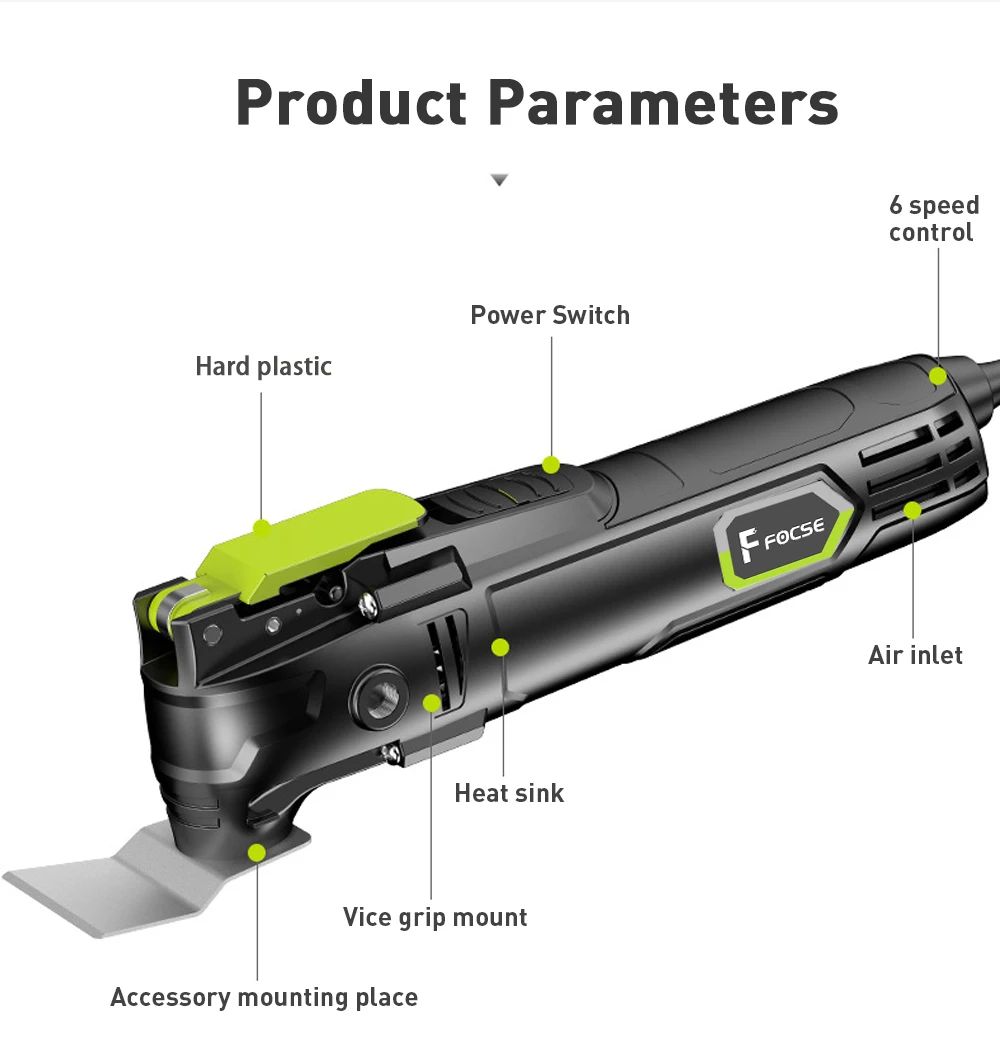
Copper Core Motor Powerful
High temperature resistance, effective heat dissipation, stable operation without burning the machine

High frequency vibration 6-speed speed adjustment
Adjustment of output power
Adjusts gears for different operations

Quick change saw blades
Save time and effort

1.Turn the trigger button forward 180°
2.Installation of saw blades
3.Reset the trigger button

Aluminum alloy head case
High strength, fast heat dissipation
can work for a long time

Assist Handle Available on both sides
Both left and right can be fitted with auxiliary handles
Meet the different use habits of people

Slim body Lightweight and convenient
Can be held in one hand
Lightweight and convenient

5° Large Swing Angle
More peace of mind in operation
Analog electric
push shear cutting

Accessories Multifunctional accessories use
Sawing Class
High carbon
steel saw blades :Cutting wood/plastic/soft
metal
Bimetal saw blades :Cutting wood / soft metal
iron nails
Precise tooth saw blades :Cutting wood/aluminum
profiles / plasterboard plastic
Semi-circular saw blades :Cutting wood

Sanding Category Frustration Class
Triangular sand table :With sandpaper to grind
wood / plastic / hard filler
Triangular
alloy grinding discs :
Semi-round electric alloy grinding discs :
Sandable grout / tile
cutting tile

Grouting Moving out Class Shovel Cutting class
Semi-circular plated diamond grinding discs :Concrete / Tile / Limestone
Spatula :Clean up paint layer / mortar / glue

Product Parameters

Quick Switch Models
1. Put the machine
2. Turn the trigger button forward 180 °
3. Align the hole and insert the blad
4. The trigger button will be restored

Basic Model
1. Use a 6-angle wrench to remove the spindle screw counterclockwise
2. Insert the tool chuck 4 pin post to the accessory hole
3. Place the pressure plate on top ofthe attachment and put the spindle screw into the spinle hole
4. Use a 6 angle wrench to tighten the spindle screw clockwise
| Usage | Home DIY |
|---|---|
| Batteries Included | No |
| Oscillation Frequency | 50HZ |
| Degree | 5° |
| Speed | 15000-22000 r/min |
| Brand Name | FOCSE |
| Origin | Mainland China |
| Certification | CE |
| Quick change saw blades | YES |
| Variable Speed | 6 Speed Adjustment |
| Scope of application | Sawing / Cutting / Grinding / Polishing / Shovel / Tumble / Grind |
| Multi-function | YES |
| Quick installation | YES |
| Power Tools | Woodworking Tools |
| Weight | 2.1kg |
| Woodworking Tools | Trimmer Wood |
| Power | 500W |
| Batteries Required | No |
Related products
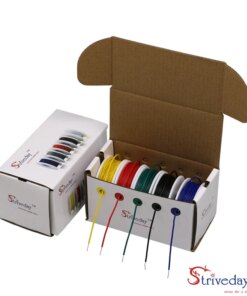

25.32$
This product has multiple variants. The options may be chosen on the product page
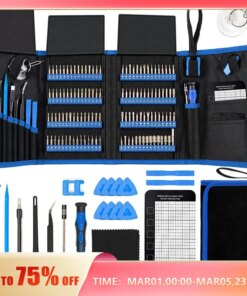
-55%


43.64$ – 51.90$
This product has multiple variants. The options may be chosen on the product page


20.85$
This product has multiple variants. The options may be chosen on the product page


27.00$
This product has multiple variants. The options may be chosen on the product page

-50%
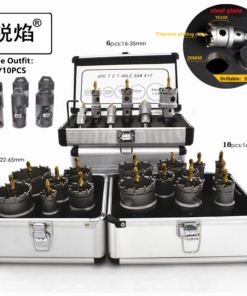

35.78$ – 86.84$
This product has multiple variants. The options may be chosen on the product page


21.41$
This product has multiple variants. The options may be chosen on the product page
-45%


Original price was: 44.06$.24.23$Current price is: 24.23$.
This product has multiple variants. The options may be chosen on the product page